Your webcam is probably not the problem. Most home office video calls look bad because of light — where it comes from, how bright it is, and what color it is. Fix the lighting and a five-year-old laptop camera looks perfectly respectable. Ignore it and an expensive camera still makes you look like you are being interviewed in a parking garage. Lighting is also the cheapest thing to change, and the one that does the most for how your eyes feel at the end of a long day.
Start With Lumens: How Much Light You Actually Need
Lumens measure light output; watts measure power draw. A 60-watt bulb from twenty years ago and a modern 8-watt LED can both put out roughly 800 lumens, which is why the watts number on the box tells you almost nothing about how bright a room will feel.
- Desk task lighting: 300–500 lumens aimed at the work surface. Dimmable is worth paying for.
- Room light: enough that the corners are not caves — usually 1,000–2,000 lumens total from ceiling fixtures or floor lamps.
- On-camera key light: a soft source about as bright as your screen, placed so your face reads brighter than the wall behind you.
One bright lamp in an otherwise dark room gives you a hotspot on the keyboard and a face lit like a horror film. Layered light — some ambient, some task, one source on your face — is what keeps your eyes relaxed and your video natural.
Kelvin: The Color Temperature Question
Kelvin (K) describes how warm or cool a light looks. Lower numbers are orange, higher numbers are blue.
- 2700K: warm and slightly yellow. Good for evenings.
- 3000K: soft white. The safest all-round choice for a home office.
- 3500–4000K: neutral, slightly cool. Feels crisp and reads well on camera without looking clinical.
- 5000K and up: daylight. Fine for detail work, harsh on skin, and best avoided as your main video light.
For calls, aim for 3000–4000K on your face. Warmer than that and you look sleepy; cooler and you look a little gray. The bigger mistake is mixing temperatures: a 2700K lamp on one side of your face and a 5000K bulb overhead splits your skin tone down the middle on camera.
Bright, cool light late in the evening tells your brain it is still daytime. If you work until midnight, switch your desk lamp to a warm setting for the last hour or two. If you have persistent eye discomfort, headaches, or trouble sleeping, talk to a doctor or optometrist rather than self-diagnosing from lamp specs.
Placement: The Part That Fixes Most Calls
You can buy the right bulbs and still look wrong if the light sits in the wrong place. Three rules cover almost everything.
Light your face, not your window
Sitting with a bright window behind you turns you into a silhouette. Turn ninety or one hundred and eighty degrees so the window is in front of you, or close the blind and use a lamp instead. If the desk cannot move, move the chair.
Put the main light in front and slightly to one side
A lamp behind your monitor, angled toward you, works well. Forty-five degrees off to one side is the classic flattering angle. Straight overhead is the worst option: it drops shadows into your eye sockets and under your nose.
Add a small fill on the other side
One light means one set of shadows. A second, dimmer source — a monitor light bar, a small lamp, a bright wall behind your shoulder — softens them. With only one lamp, bounce it off a nearby white wall to spread it out.
A Five-Minute Setup You Can Do Tonight
- Turn off the ceiling light and sit where you normally work. Take a ten-second test recording.
- Bring in one lamp, place it behind the monitor, and angle it toward your face. Record again.
- Move it left or right until the shadow on one side of your face is soft and small.
- Raise or lower it to roughly eye level. Looking up at a lamp flattens your face; looking down at one shadows it.
- Bring the ceiling light back at low brightness, or add a floor lamp, so the room stops feeling like a cave.
- Record once more. If your face and the wall behind you are close in brightness, you are done.
The Details Most People Skip: CRI, Flicker, and Glare
Color rendering (CRI) describes how faithfully a light shows color. Look for CRI 90 or higher if you do anything color-sensitive. It shows on camera too — cheap LEDs can make skin look faintly green or gray.
Flicker is invisible to most people, but some inexpensive LEDs pulse quickly enough to bring on headaches during long sessions. If a lamp leaves you drained after an hour, try a different one.
Glare is the last piece. A glossy desk, a bare bulb, or a bright lamp inside your webcam's frame all create hotspots. Use a shade, angle the light away from the lens, and keep sources out of shot. If you wear glasses, watch your test clip for reflections on the lenses and shift the lamp until they go.
Adjust, Then Stop Thinking About It
Lighting deserves an hour of fiddling, not a weekend. Make the room comfortable to work in, put one soft source on your face, record a short test clip, and leave it alone.
Two things are worth revisiting. In winter, when daylight is scarce, you will want more lumens by midday and warmer light after dark. And if you move the desk or reposition the monitor, redo the ten-second recording. Placement matters more than any number on the box.
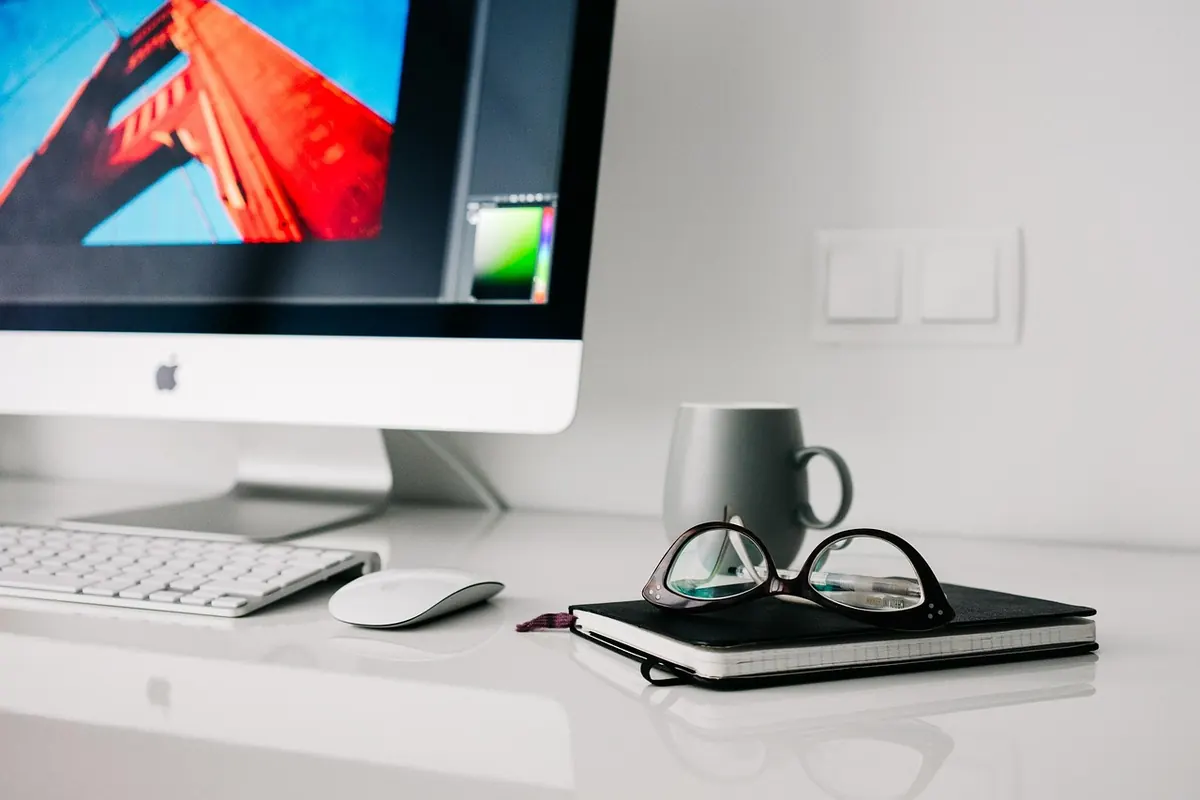
Photo: ricardorv30 / Pixabay